- cork board
- paints + paint brush
- razor blade knife
- pencil and stick on magnets (found at any craft store)
- circle stencil (or circular object to trace)
 Begin by taking your circular stencil and making 3-5 circle cutouts of the cork board. Once you have drawn them all out, cut them out with your razor knife.
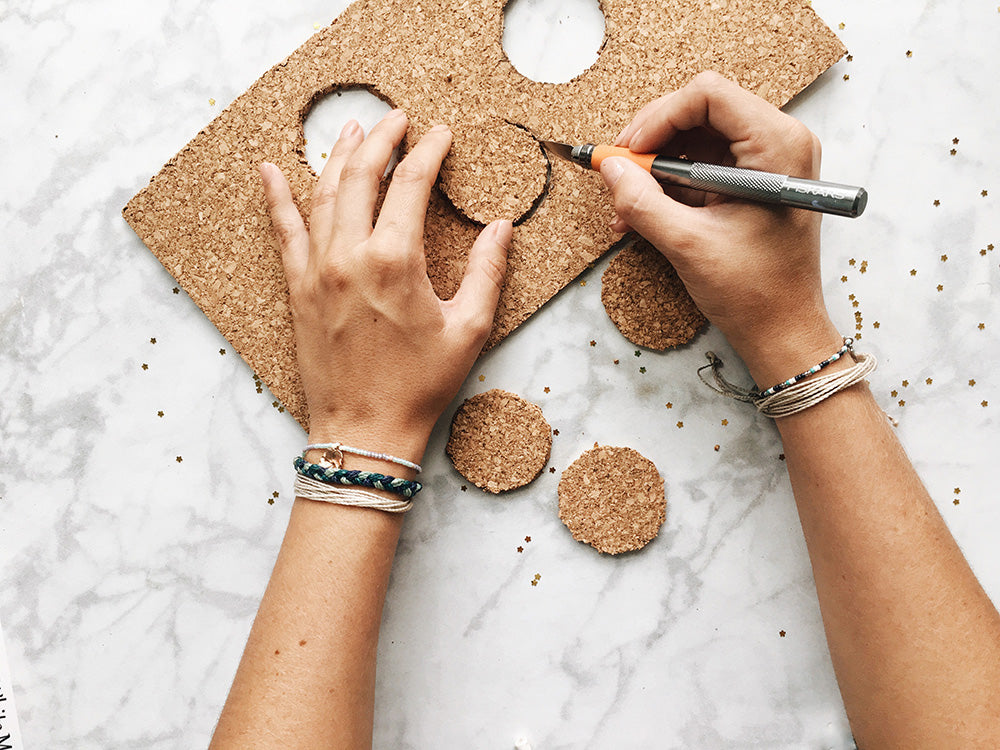 Now, take the stick-on magnet strand and cut small snippets of the magnet.
 Small enough to fit onto the back of the cork board cutouts.
 What you will do first is paint the entire cork board magnet with a layer of white paint. Let dry.
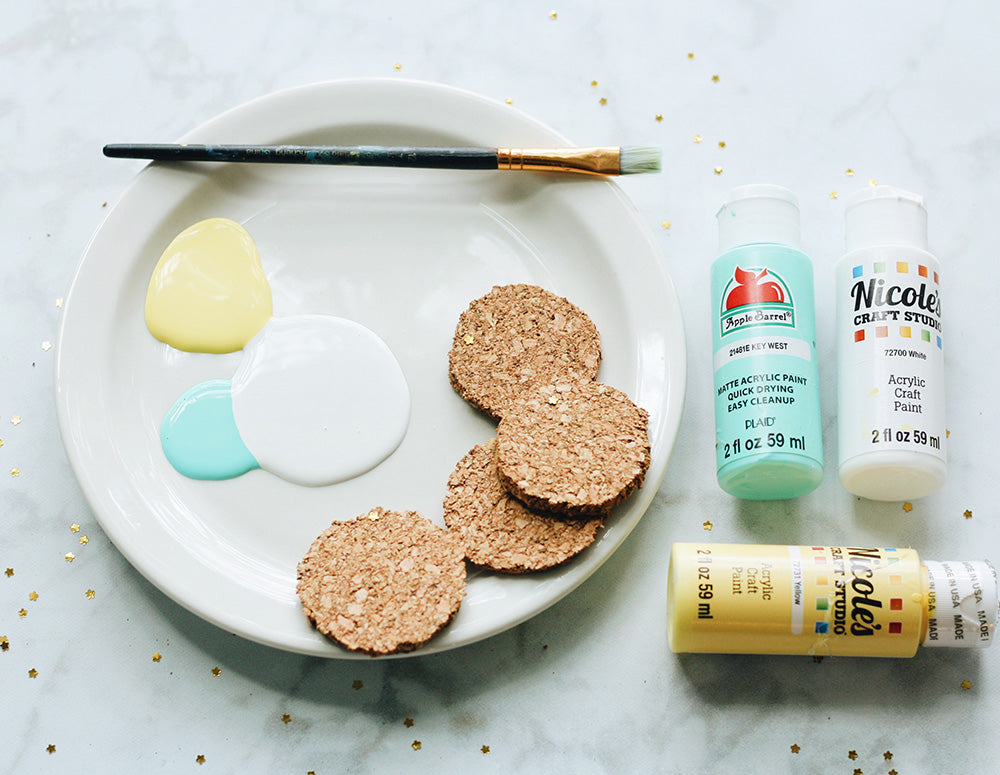
 Once they have dried, you can decide what you want to paint on them! You can use this part to get totally creative. We decided to go with a pineapple, cactus, palm leaf and polka-dots!

 Use them to hold reminders on your calendar or locker!
 Or decorate your dorm room mini fridge with them!


